Create RDLC Report In VS2010 and Show It in Report Viewer
2 Jun 20214 minutes to read
This section covers the steps to create RDLC report in VS2010 and shows the created RDLC report in the Report viewer.
-
Create a new WPF application with .NET Framework 4. The Solution Explorer dialog opens.
-
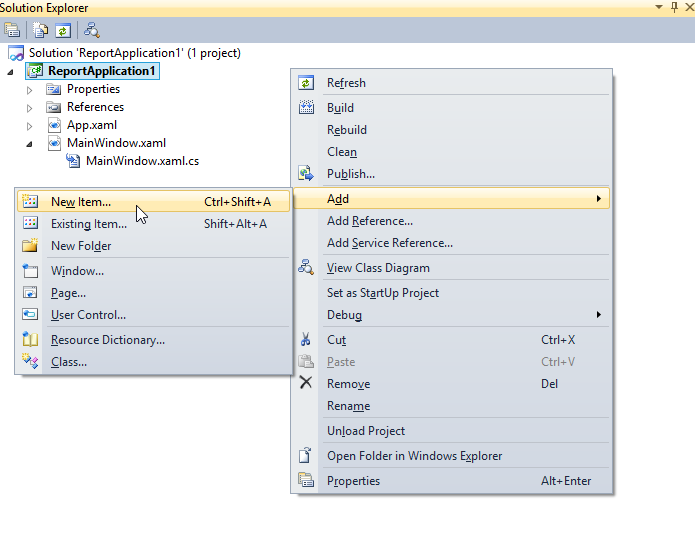
To add a new RDLC report in the WPF application, right-click on the newly added WPF application in the Solution Explorer.
-
Select Add, and then click New Item.
-
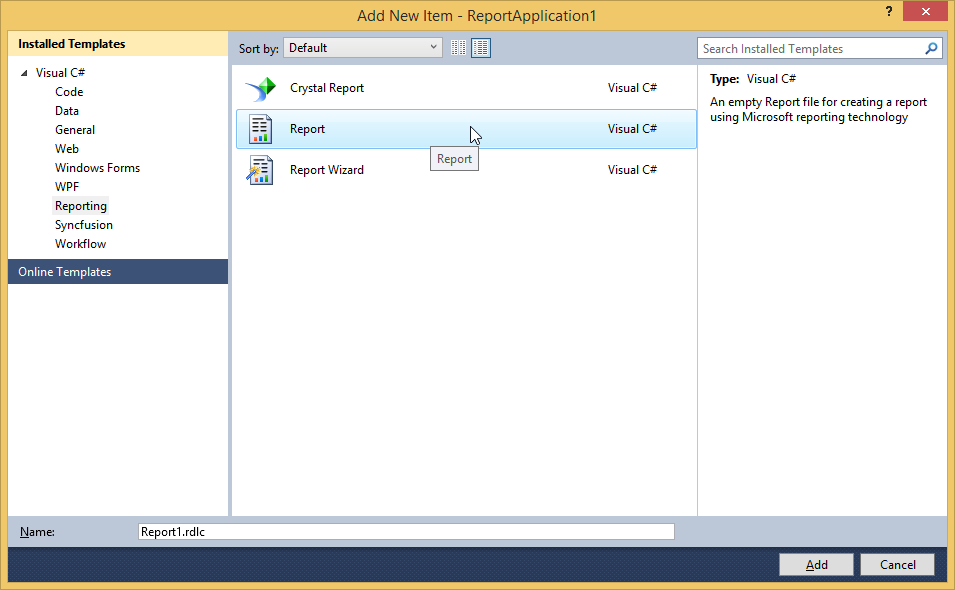
Then Add New Item dialog opens.
-
To create a dataset for the RDLC report, click Reporting under Visual C# Items.
-
Click Report, and then click Add.
-
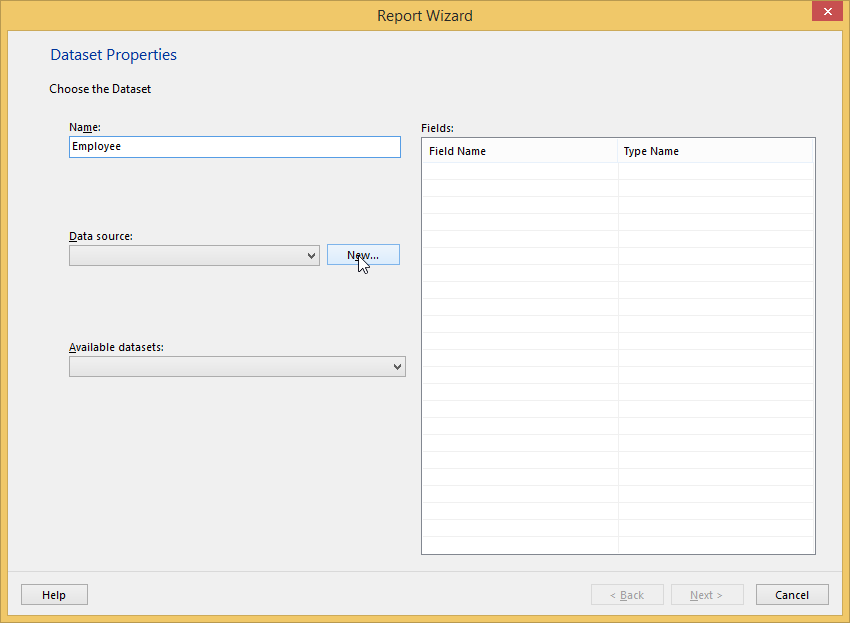
The Report Wizard opens.
-
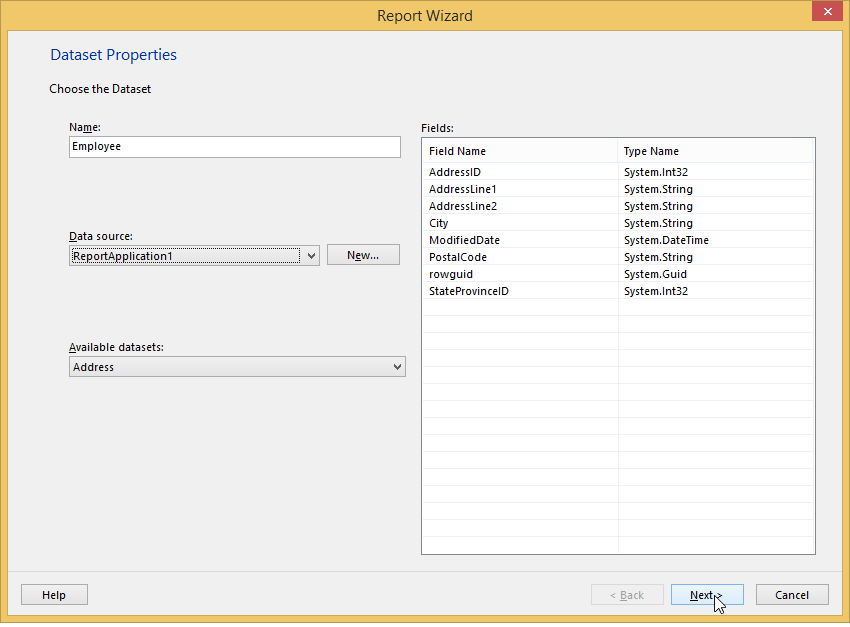
Enter a dataset name in Name field.To choose a data source for the dataset, click New on the right of Data source drop-down combo box.
-
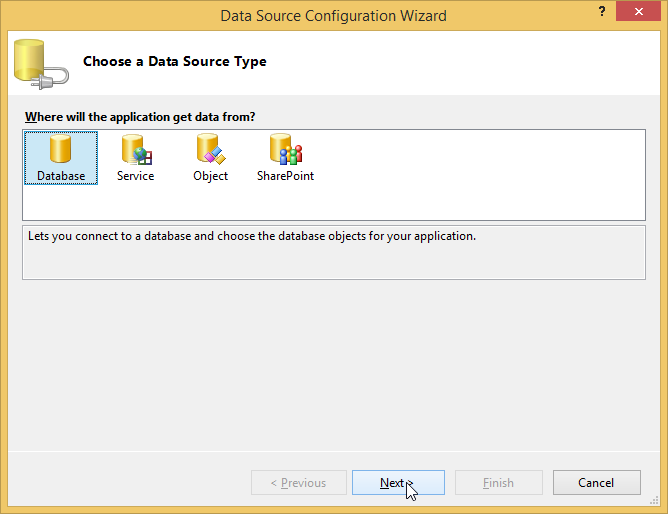
Then Data Source Configuration Wizard opens.
-
Click Database under Where will the application get data from? and then click Next.
-
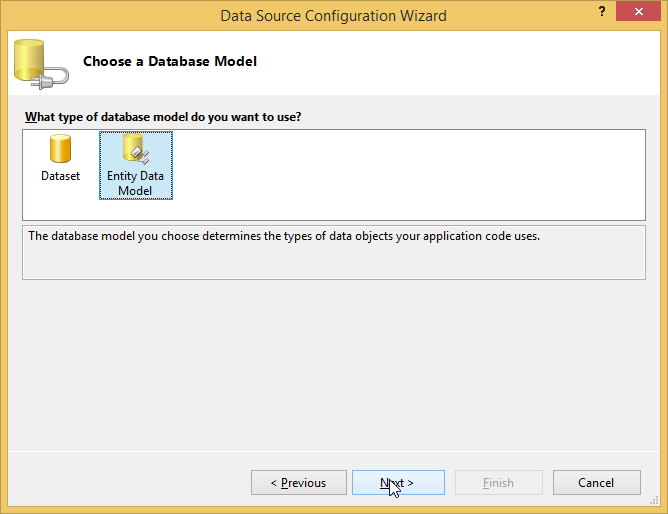
Click Entity Data Model under What type of database model do you want to use? and click Next.
-
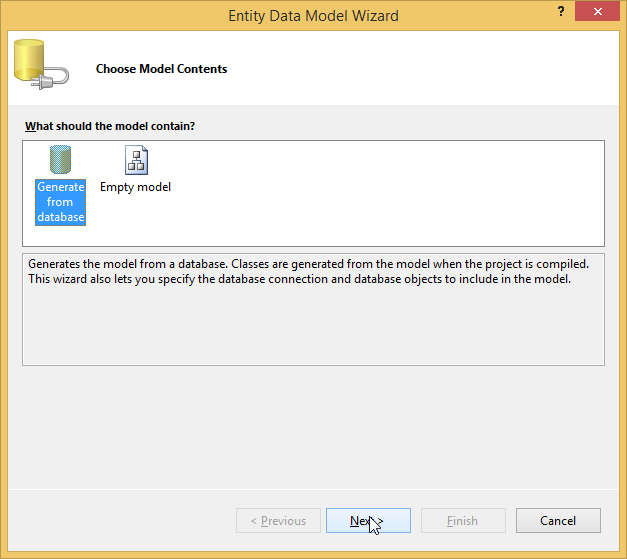
Then Entity Data Model Wizard opens.
-
Click Generate from database under what should the model contain? and click Next.
-
Select a data connection from Which data connection should your application use to connect to the database? drop-down combo box. Click Next.

-
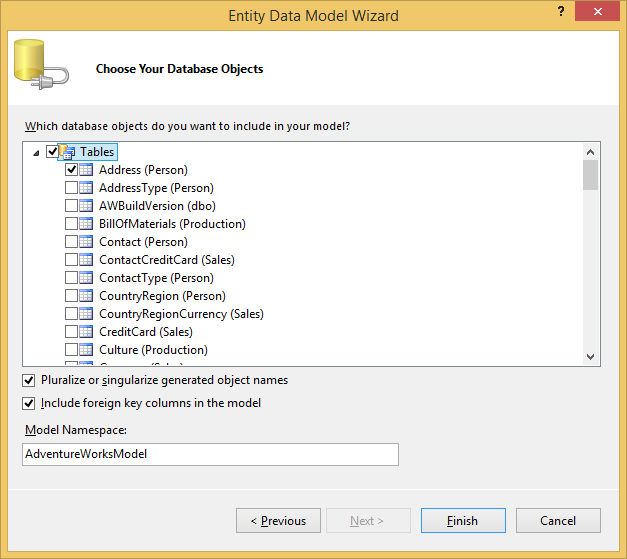
Select the required object and click Next. The Data Source Configuration Wizard opens.
-
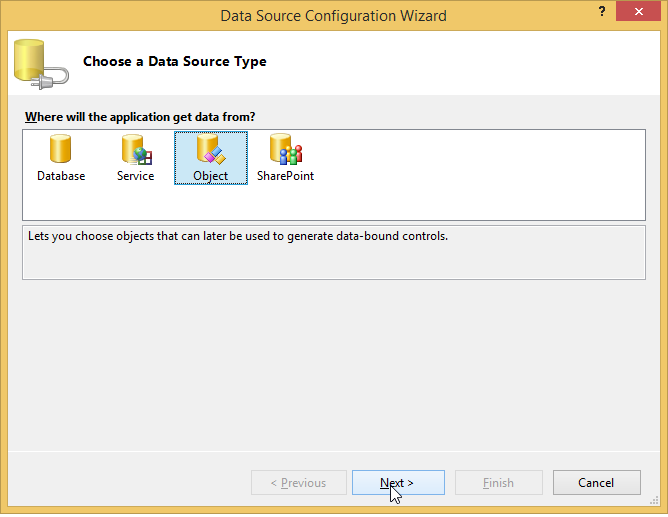
Select Object under Where will the application get data from? and click Next.
-
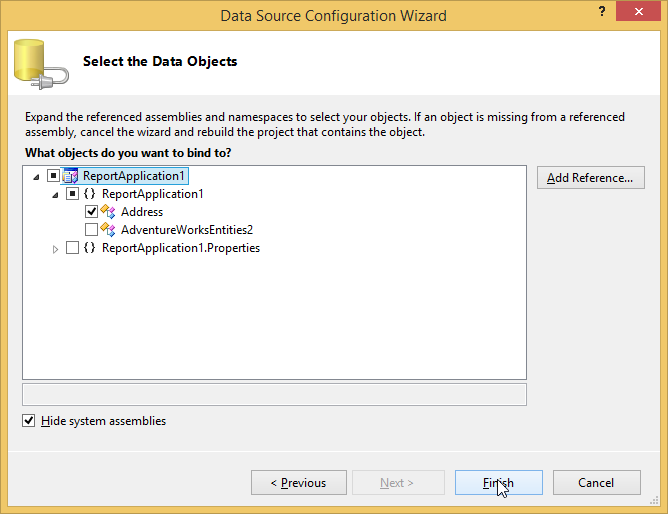
Select the object under What objects do you want to bind to? and click Finish.
-
The Report Wizard shows the details of the dataset under Fields and Click Next.
-
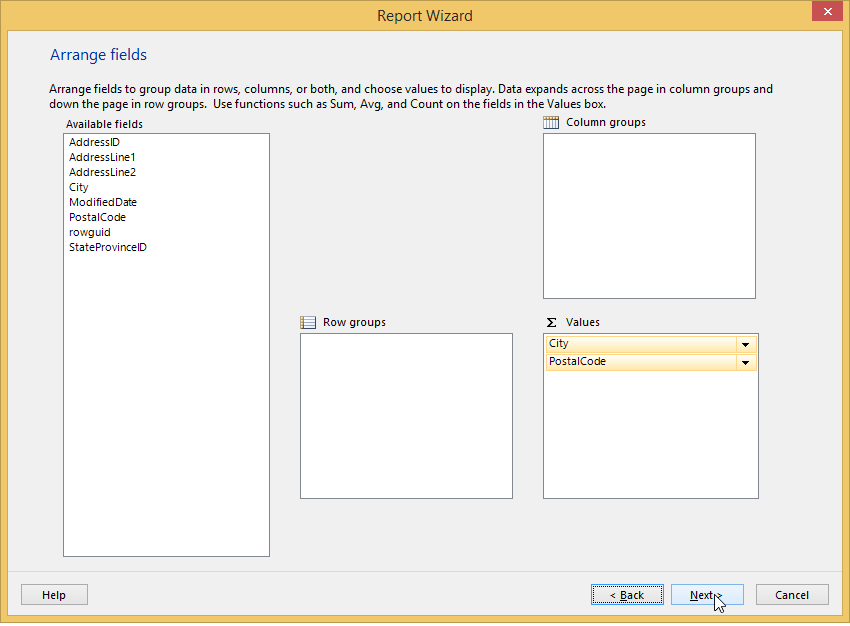
Arrange the available fields to row groups, column groups and values field. Click Next.
-
Choose the layout design in the next window and click Next.

-
In the next window, choose the style and click Finish.

-
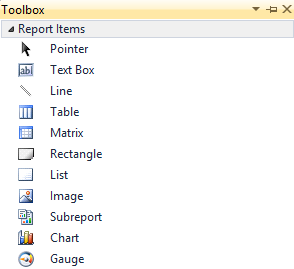
On Toolbox window, in Report Items, select Table.
-
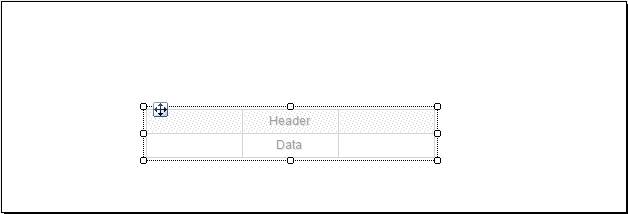
Draw a table on the WPF Designer window.
-
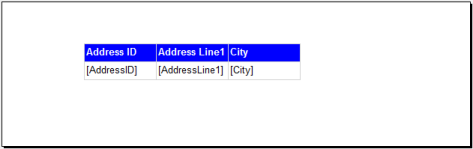
Drag the dataset field on the Table.
-
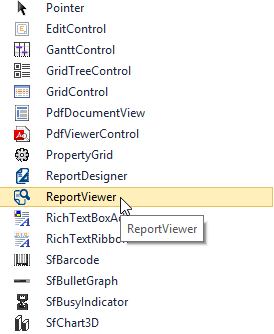
To add Report Viewer in the WPF application, select ReportViewer under Reporting.
-
Set the ReportPath and the ProcessingMode as local in the Report Viewer.
<Window x:Class="WpfApplication15.MainWindow" xmlns="http://schemas.microsoft.com/winfx/2006/xaml/presentation" xmlns:x="http://schemas.microsoft.com/winfx/2006/xaml" Title="MainWindow" Height="350" Width="525" xmlns:syncfusion="http://schemas.syncfusion.com/wpf"> <Grid> <syncfusion:ReportViewer Name="viewer" ProcessingMode="Local" ReportPath="..\..\ProductCatalog.rdlc" /> </Grid> </Window> -
Set the DataSource information in the code to view the report in the Report Viewer.
public MainWindow() { InitializeComponent(); this.Loaded += new RoutedEventHandler(MainWindow_Loaded); } void MainWindow_Loaded(object sender, RoutedEventArgs e) { this.viewer.DataSources.Clear(); this.viewer.DataSources.Add(new Syncfusion.Windows.Reports.ReportDataSource() { Name = "Employee", Value = new AdventureWorksEntities().Addresses.Take(100) }); this.viewer.RefreshReport(); } -
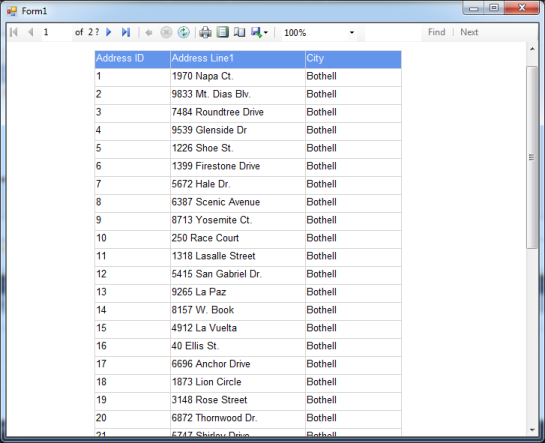
Run the application. The following output is displayed.