Step-by-Step Installation
28 Jan 20252 minutes to read
The following procedure illustrates how to install Syncfusion® Web Sample Creator. Before install the Syncfusion® Web Sample Creator, make sure any of the following setups are installed.
- Essential Studio® for Enterprise Edition with all platforms
- Essential Studio® for ASP.NET MVC
- Essential Studio® for ASP.NET
- Essential Studio® for ASP.NET Core
- Essential Studio® for ASP.NET MVC(Classic)
-
Double-click the Syncfusion® Web Sample Creator Setup file. The Self-Extractor Wizard opens and extracts the package automatically.
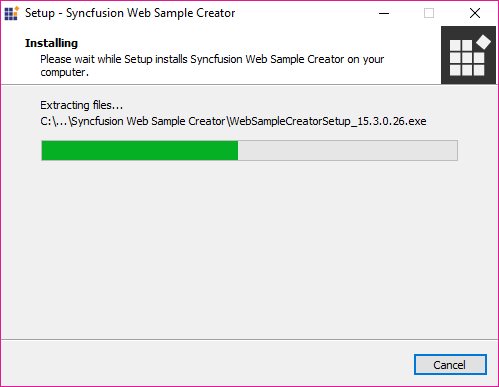
NOTE
The WinZip Self-Extractor extracts the syncfusionwebsamplecreator_(version).exe dialog, displaying the unzip operation of the package.
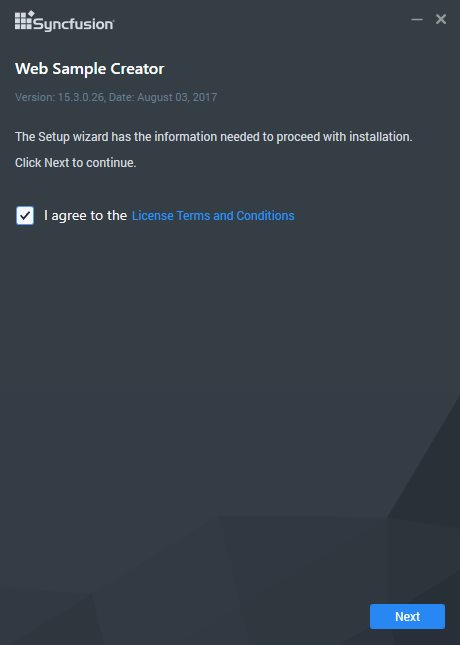
If complete Essential Studio® suite or any of the required Essential Studio® platform setups are installed, Syncfusion® Web Sample Creator setup will be installed.
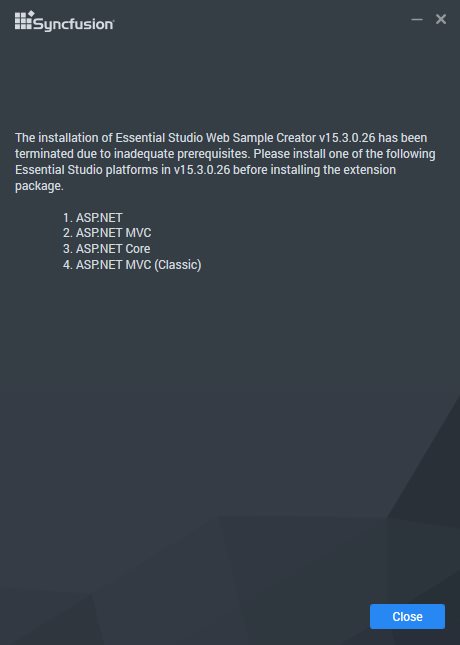
If complete Essential Studio® suite or any of the required Essential Studio® platform setups are not installed, Syncfusion® Web Sample Creator setup will show the below message.
-
After reading the terms, click the I accept the terms and conditions check box.
-
Click the Next button. The Installation location window opens. It shows the Syncfusion® Essential Studio® setup installed location.
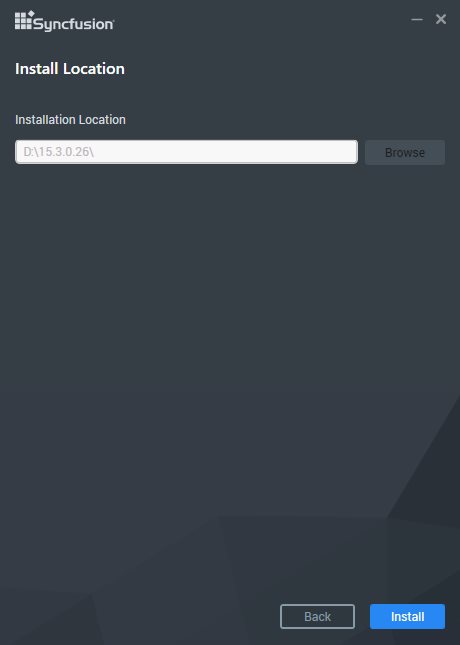
NOTE
It does not allow you to change the install path since its Add on setup for Syncfusion® Essential Studio®.
-
To install it in the displayed default location, click the Install button.
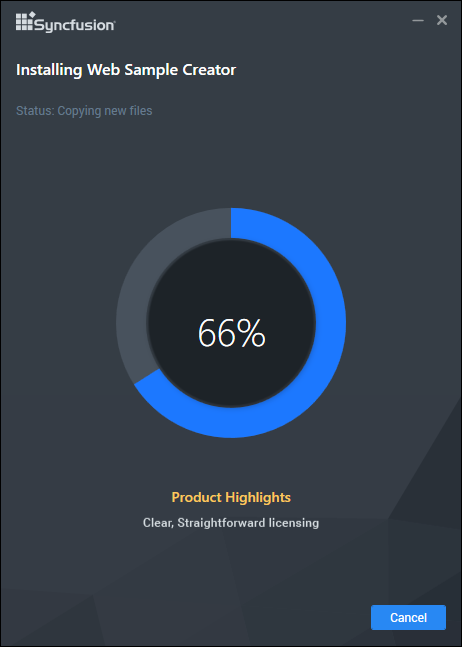
-
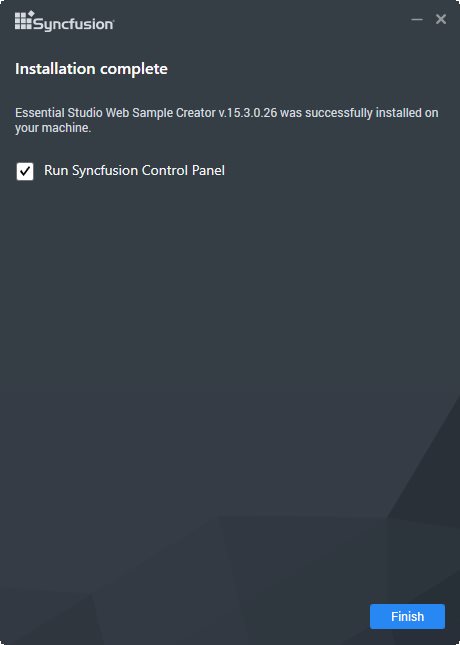
The Completed screen will be displayed once the selected package is installed.
-
Select the
Run Syncfusion<sup style="font-size:70%">®</sup> Control Panelcheck box to launch theSyncfusion<sup style="font-size:70%">®</sup> Control Panelafter installed. -
Click Finish button. Syncfusion® Web Sample Creator is installed in your system and the Syncfusion® Control Panel is launched automatically.
IMPORTANT
The syncfusionessentialextension.exe setup has renamed to syncfusionwebsamplecreator.exe from 2015 Volume 4 release.